Welcome to Day 2 of your journey to scalable income. Here are the exact steps to clone my system and start promoting it. By getting your first referrals, you’ll be multiplying your earnings without working any more hours. Please don’t skip any steps; precision is the key to your success.
Setting up Your Automated System
Step 1 = Import Lead Capture Page
You will need to log in to Leadsleap to complete this step.
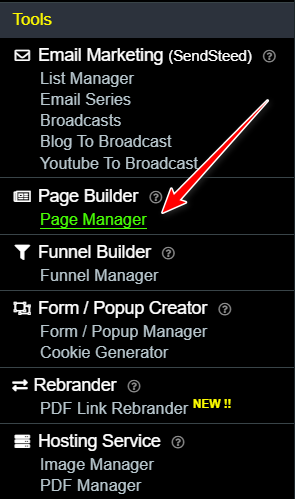
Inside Leadsleap click first on the PAGE MANAGER tab in the main menu.
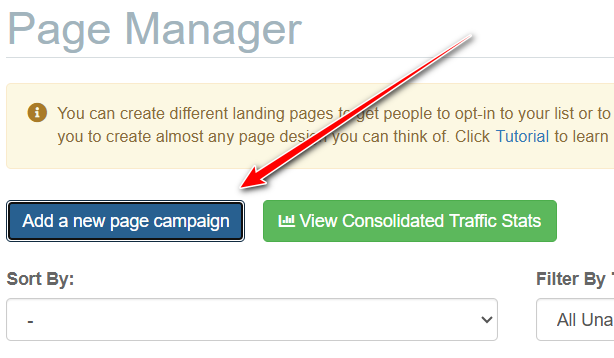
Next click on the ADD A NEW PAGE CAMPAIGN button at the top of the Page Manager:
You will be asked to give your page a name:
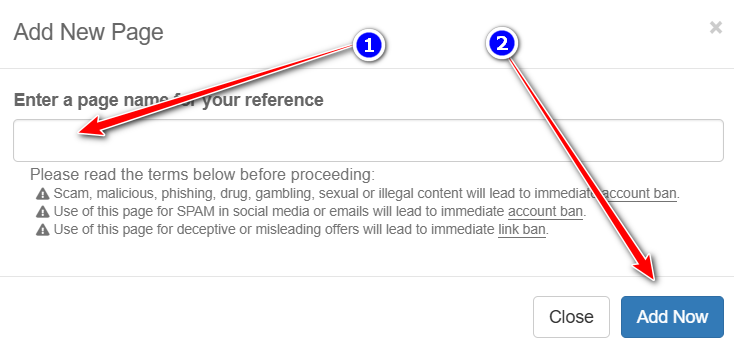
The page name I use for this campaign is “Earn From $10+ to $100+ a Day! ”.
Click the ADD NOW button and you will see this inside your Page Manager:
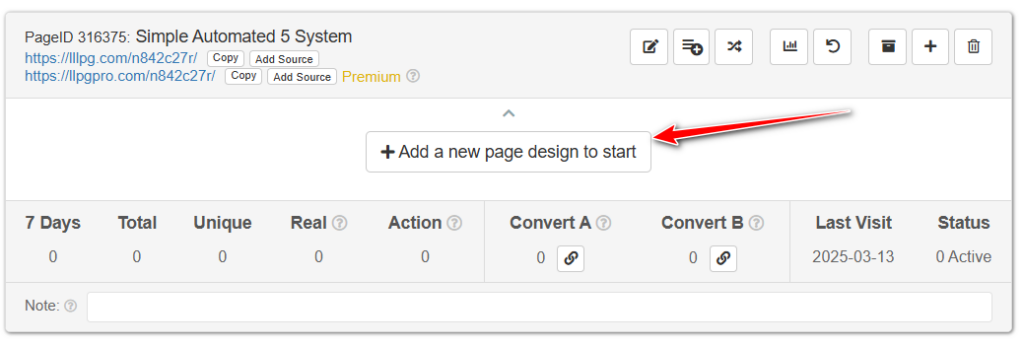
Click on ADD A NEW PAGE DESIGN TO START button as shown above.
You will see this:
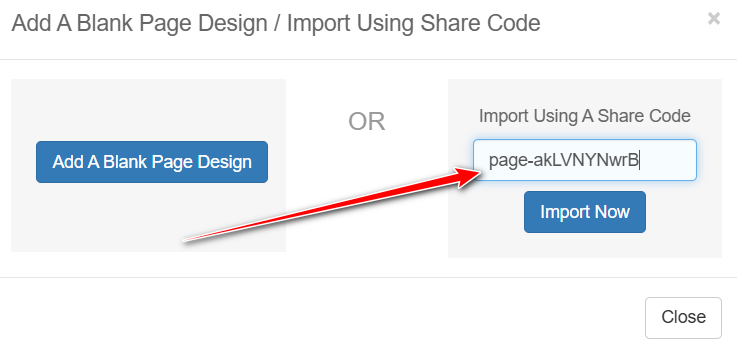
Enter this code in the Import Using A Share Code option: page-as7gQP
Click the IMPORT NOW button and you will have a copy of my ad page in your Leadsleap account.
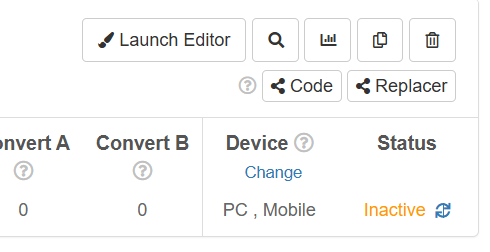
You may need to activate the page. If you see the status as INACTIVE like the image below just click on the arrows and it will change to active.
Step 2 = Create An Email List (To save contacts gained when you start promoting)
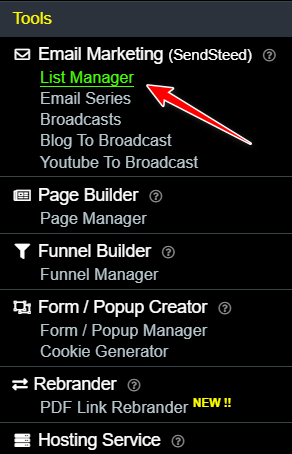
Now you need to create a list where the email addresses gained from using the capture page will be stored. To do this click on LIST MANAGER in the main Leadsleap menu:
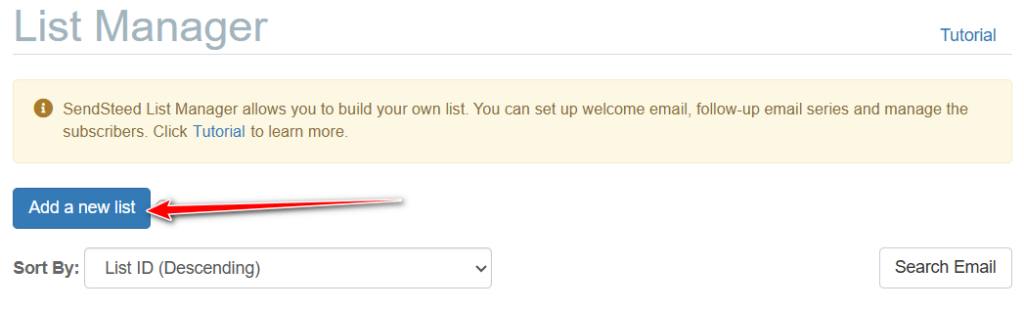
On the list manager page you will see the ADD A NEW LIST button:
When you click the Add list button you will be asked to give the list a name:
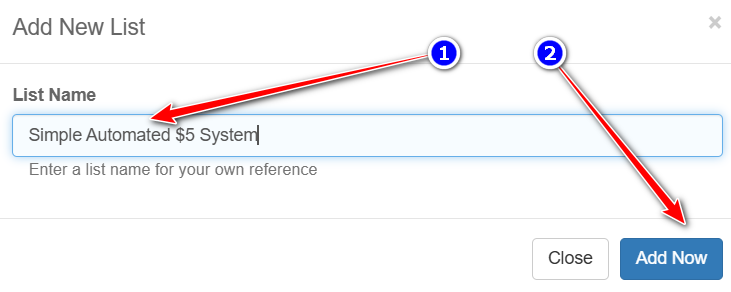
I use the same name as the page to avoid confusion. After creating the list you will need to complete an activation process before it can be used. Click on the cog icon as shown below and this will open the LIST SETTINGS form.
You need to complete the form with some of your own details:
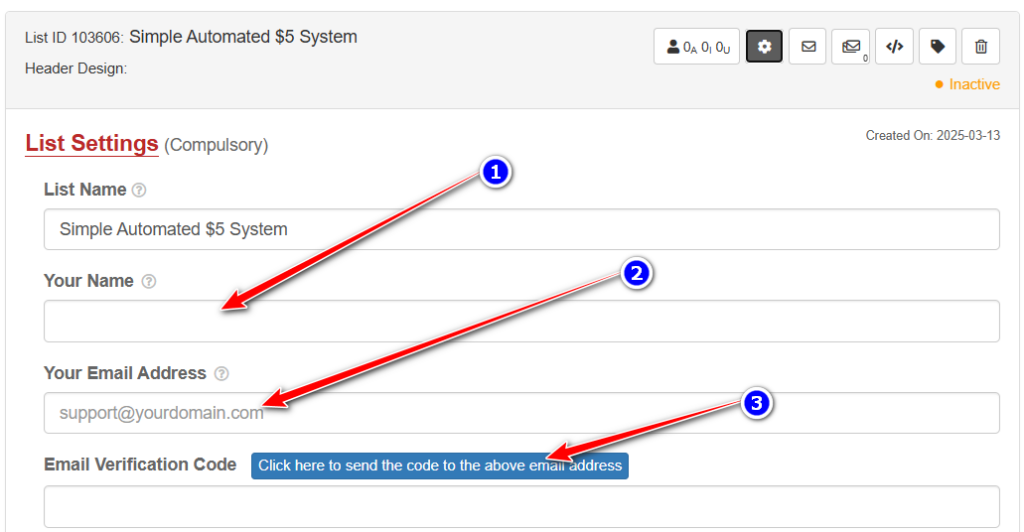
When completing the form you will be asked to send a code to your email address. Click on the blue button to do that:

You will receive an email with the code which you need to place in the box provided. You can ignore the advanced settings part of the form if you are not familiar with them. At the bottom of the form you will see there is a tick box for the terms of using the list:
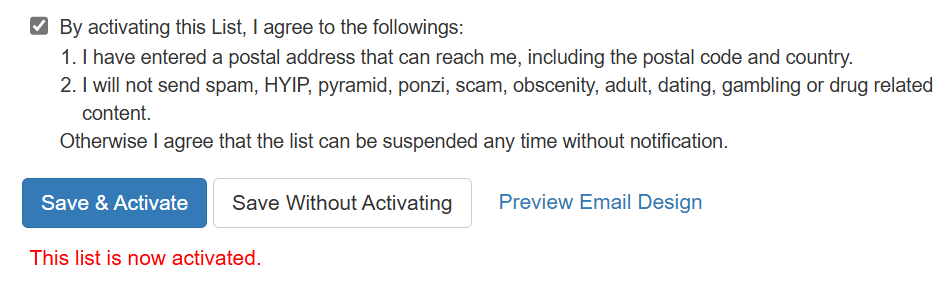
Click on the tick box to agree with the terms, then click on the SAVE AND ACTIVATE button. You will see the red notification when the list is activated.
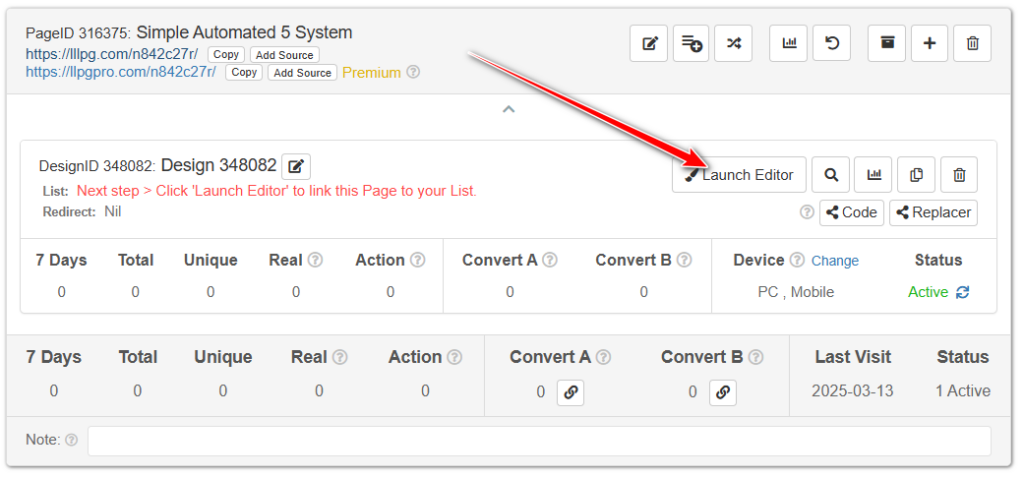
Step 3 = Connect Lead Capture Page to Email List
To complete this step you need to open the PAGE MANAGER tab again. On the page listing you created earlier click on the LAUNCH EDITOR button:
In the editor menu click on the second option = List
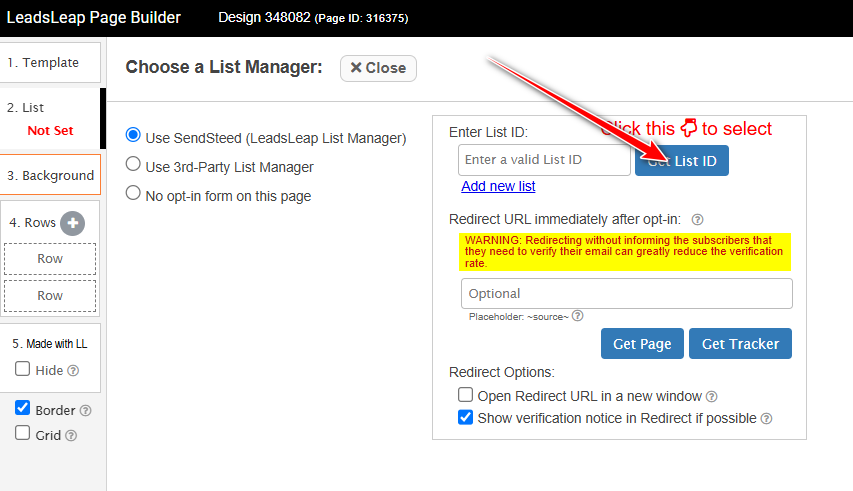
Choose USE SENDSTEED and then click on the GET LIST ID button. Choose your list from the dropdown box. The list ID number will be added to the box as shown above.
CLICK THE GREEN SAVE BUTTON – It is on the top right of the page:

After saving you can close the page.
Step 4 = Add an Email to the System
When someone adds their details to the lead capture page you will want them to receive instructions on what to do. You add this email to the system now and it gets sent automatically when someone joins your email list.
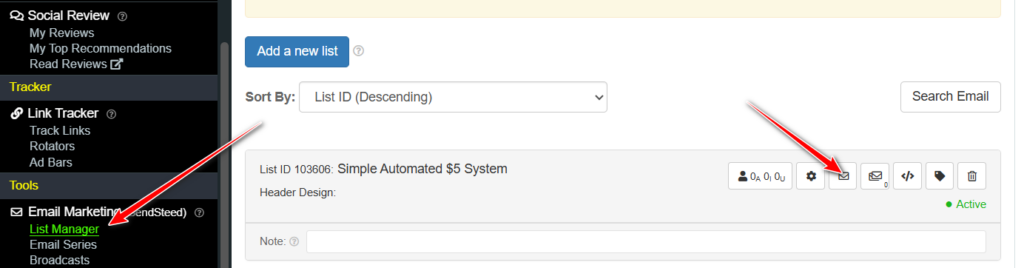
Go to LIST MANAGER then click the little envelope icon
Then click the little pencil icon to add your welcome email
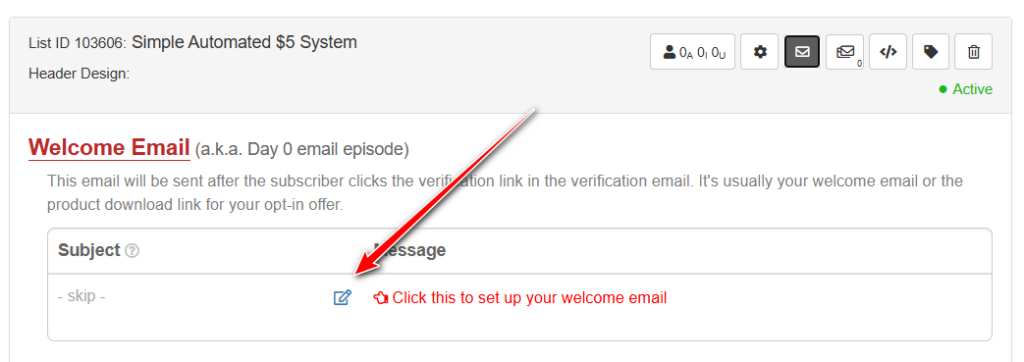
This is the email that I use:
Subject: Welcome to my Scalable Income System!
=====================================================
Hi,
Welcome to the team! We’re glad to have you with us. We don’t waste any time here: you’ll start generating income today.
Your task today is very simple but vital. Just register on the 5 rewards sites and browse 25 pages on each one. When you’re finished, remember to go to the “Rewards” section and click “Claim Now”.
👉 Click here to see the list of sites and get started.
That’s all you need to do today. Keep checking back for great tips. Don’t overdo it; just complete your clicks and claim your rewards. Tomorrow I’ll share the full strategy with you.
Talk soon!
[Your Name]
=====================================================
Send your subscribers to a blog post, like this one.
or You can create a copy of this blog post so you can send the information to your subscribers by using the welcome email feature on Leadsleap.
You have my permission to take a copy of or replicate any part of that blog post ONLY if you have joined MY TEAM on Global Domains International. I can and will take legal action for copyright infringement in other cases.
==> Click Here To Join Global Domains International
==> Click Here for instructions on setting up your GDI account as a blog
In your welcome email, it is not mandatory to add all the sites, only the ones you have updated and you will gradually add them as you update, but if you wish, you can include the others from the beginning.
Step 5 = Test the System is Set Up Correctly
Before you start promoting the system you should make sure the system is set up correctly. To do this open the lead capture page and enter your own details in the form. You should receive a verification email and the welcome email that you have set up. If not then go back over the steps above to correct the issue.
Next step: Getting Referrals.
Now let’s scale your results by activating your referral network. Take the link from your Leadsleap page and add it to the advertising section to put it in front of active members on five of your current sites, excluding WorldwideTE (reserving this for when you become a paid member). Why is this so effective? Because we’re reaching a pre-qualified audience. When they see you promoting something compatible with what they already use, a sense of belonging is automatically activated, making them much more likely to join your team without hesitation.